These homemade caramels are buttery soft yet chewy, perfectly sweet and impossibly smooth. This is the kind of recipe that you pull out every December, or whenever you want to spoil the people around you.
No fancy gadgets, no candy-making drama. Just real ingredients and a pot that does the heavy lifting.
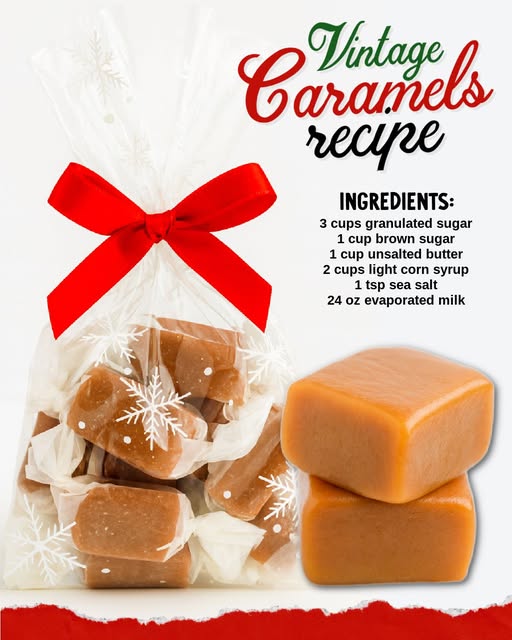
The Six Ingredients Needed To Make Caramels
Notes From Experience
Making caramel is one of those things that looks intimidating, but once you understand the process, it becomes the most reliable little treat in your holiday lineup.
Here’s what we’ve learned after making these more times than I can count:
Add the evaporated milk very slowly. The mixture needs to stay at a full boil the entire time you’re adding the milk. If the boil drops, the sugar crystals stop dissolving properly… and that’s when you get grainy caramel.
A heavy-bottomed pot keeps the heat even so the caramel doesn’t scorch. With a recipe that cooks for a long time, the pan you use makes a huge difference.
Stir more than you think you need to. Caramel rewards attention. Frequent stirring keeps the butter and sugars from separating and helps everything cook evenly. It’s the secret to that glossy, uniform texture.
Cook to exactly 238°F. This is the sweet spot — literally. At 238°F, the caramel sets into that perfect soft-chew that slices neatly and melts as you eat it. A couple degrees off can change the texture, so let your thermometer guide you here.
Let it cool on the counter, not in the fridge. Cooling slowly means the caramel sets evenly from edge to center. That’s why you get such clean, beautiful cuts.
A cold, wet knife glides right through the caramel and gives you those neat little squares that look like they came from a candy shop.
Wrap each piece to keep them soft and chewy. Wax paper or pre-cut candy wrappers keep the caramels fresh, protect the texture, and make them easy to gift or pack up in treat boxes.
Texture Guide (So You Know It Turned Out Right)
Your caramels should be:
- Soft but holding shape at room temperature
- Chewy, not sticky
- Smooth—not grainy or sandy
- Sliceable with light pressure
If you hit those marks, you nailed it.
Storage Instructions
Room Temperature: Up to two weeks in an airtight container
Fridge: Up to four weeks, wrapped
Freezer: Up to three months (wrap individually + freeze in a zip-top bag). Make sure to label the container so that you enjoy them before their best-by date.
They ship beautifully, too. Individually wrapped caramels hold up to mailing as long as they’re kept cool.